
Full 25-point door and opener safety check with every visit - springs, cables, rollers, tracks, and your LiftMaster or Chamberlain opener included
You get a price before we start. It does not change when the truck arrives.
 Before
 After
After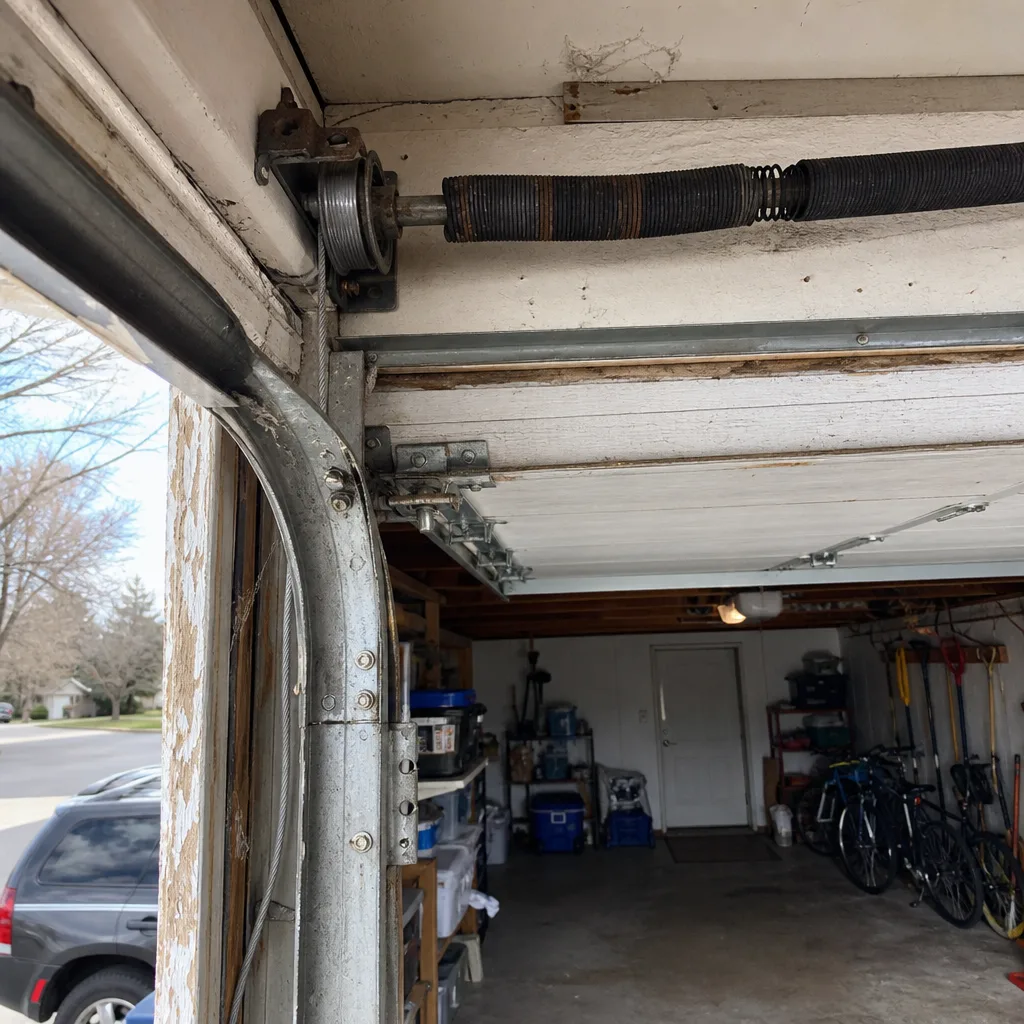 Before
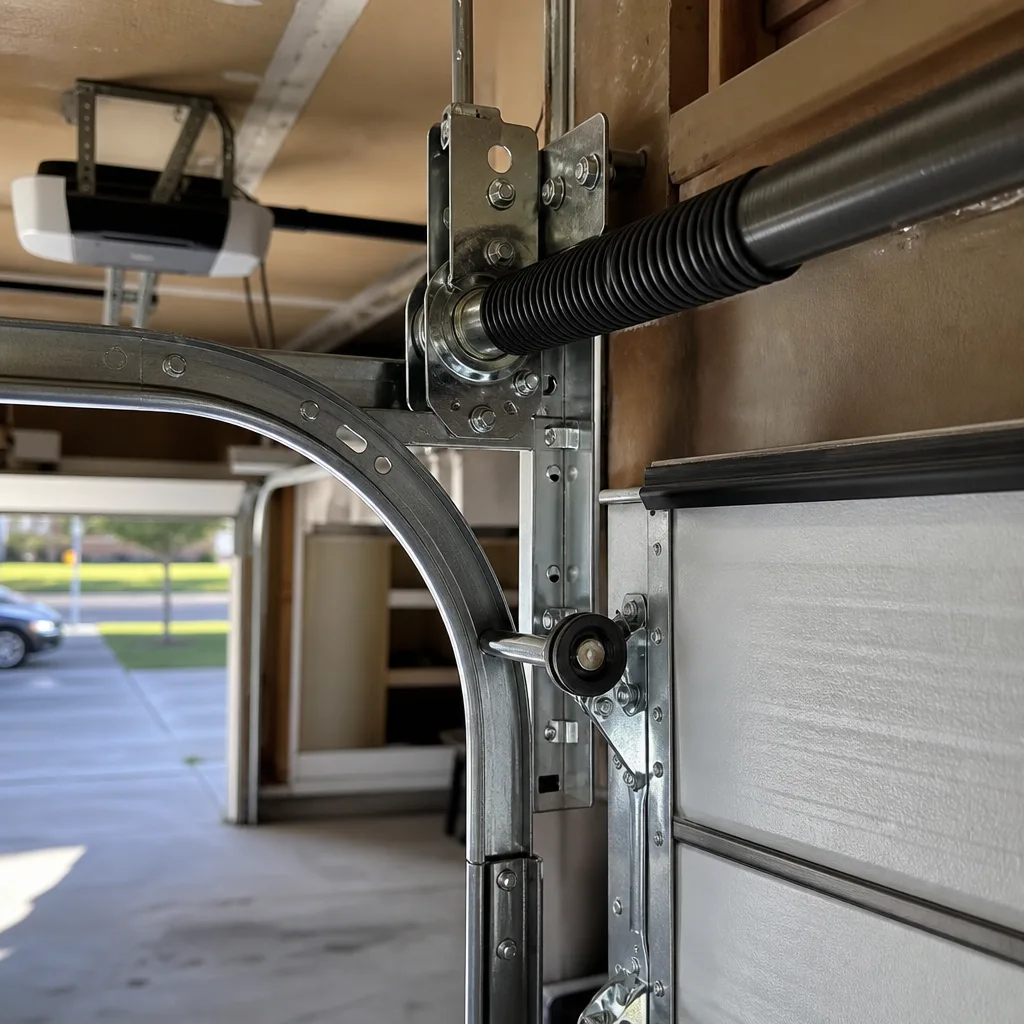 After
After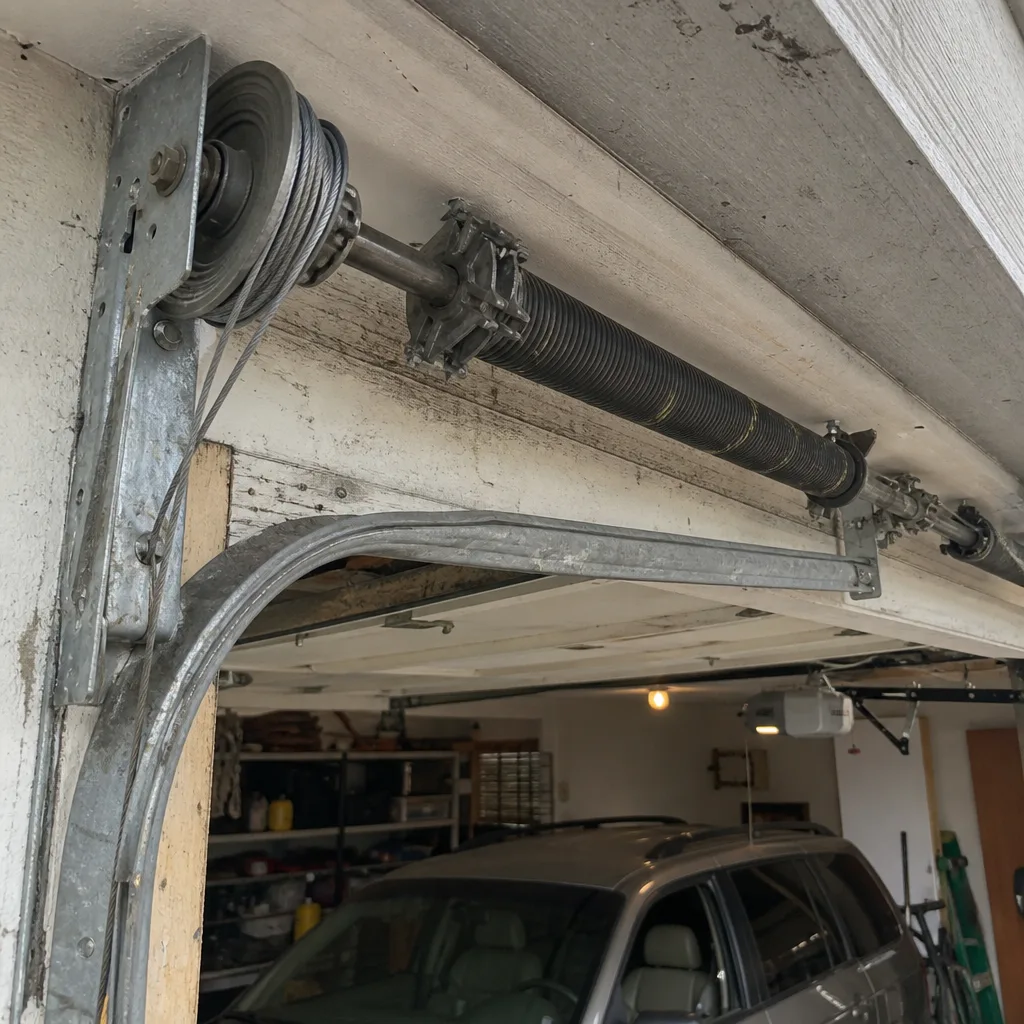 Before
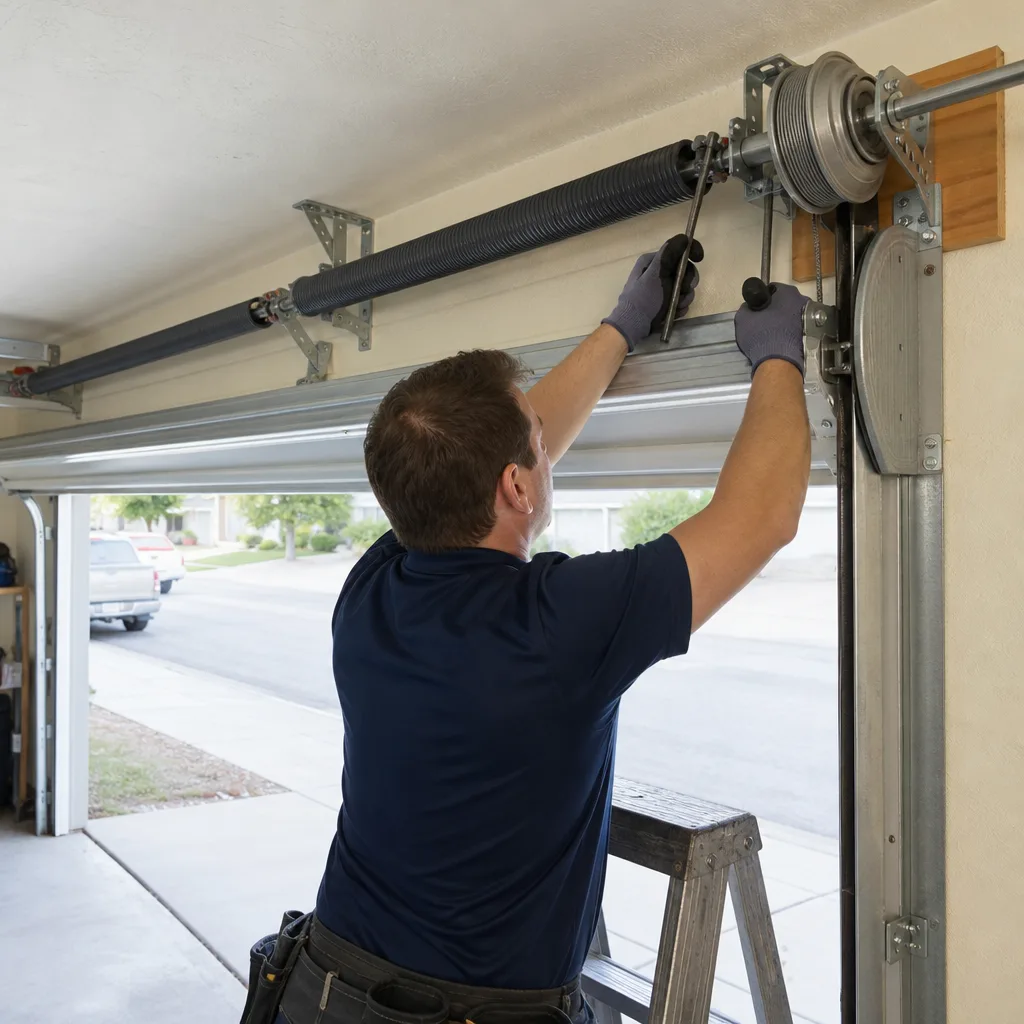 After
AfterRaynor Garage Door Opener Repair & Installation in Westminster: What to Know First
We repair and install Raynor garage door openers across Westminster, and most opener jobs are diagnosed and fixed in a single visit. Opener repair on a Raynor typically runs $120 to $320, while full opener installation lands between $250 and $550, quoted in writing before any work starts. If your Raynor opener is grinding, refusing to respond, or intermittently reversing, call (720) 807-1427 and we’ll get a technician scheduled with a named arrival, not a callback window.
This page is for Westminster homeowners who own a Raynor door or opener and want specifics: which models show up in local garages, what fails on them, and what the repair actually costs here. It’s not a generic brand overview.
How Raynor Products Fail - and How We Fix Them
- Raynor Pilot and Power Hoist logic boards after Front Range electrical storms. Westminster sits in a hail-and-lightning corridor, and we see a disproportionate number of Raynor opener boards that took a surge through the wall outlet. The symptom is usually a dead wall console with no LED, or an opener that trips its GFCI outlet repeatedly. The fix is a board replacement, not a whole new opener, and we’ll show you the board before we quote it.
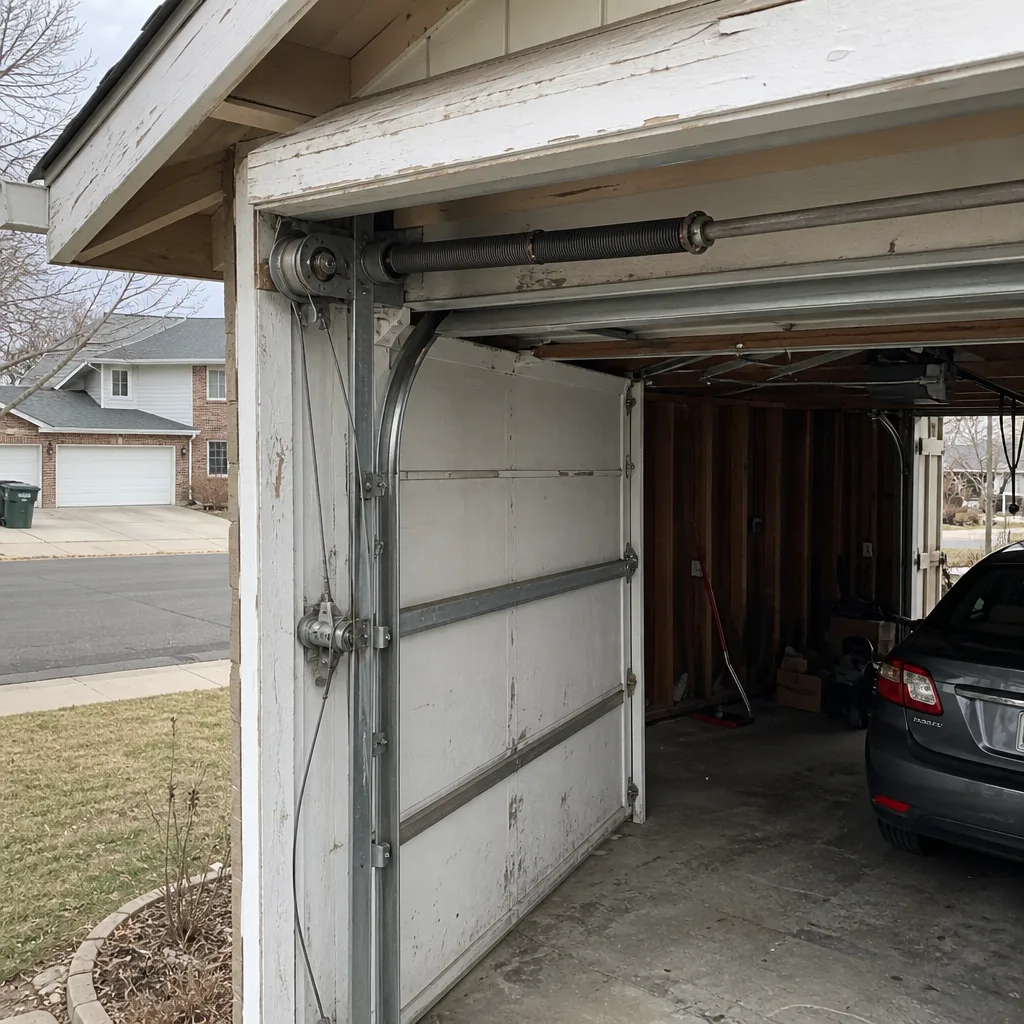
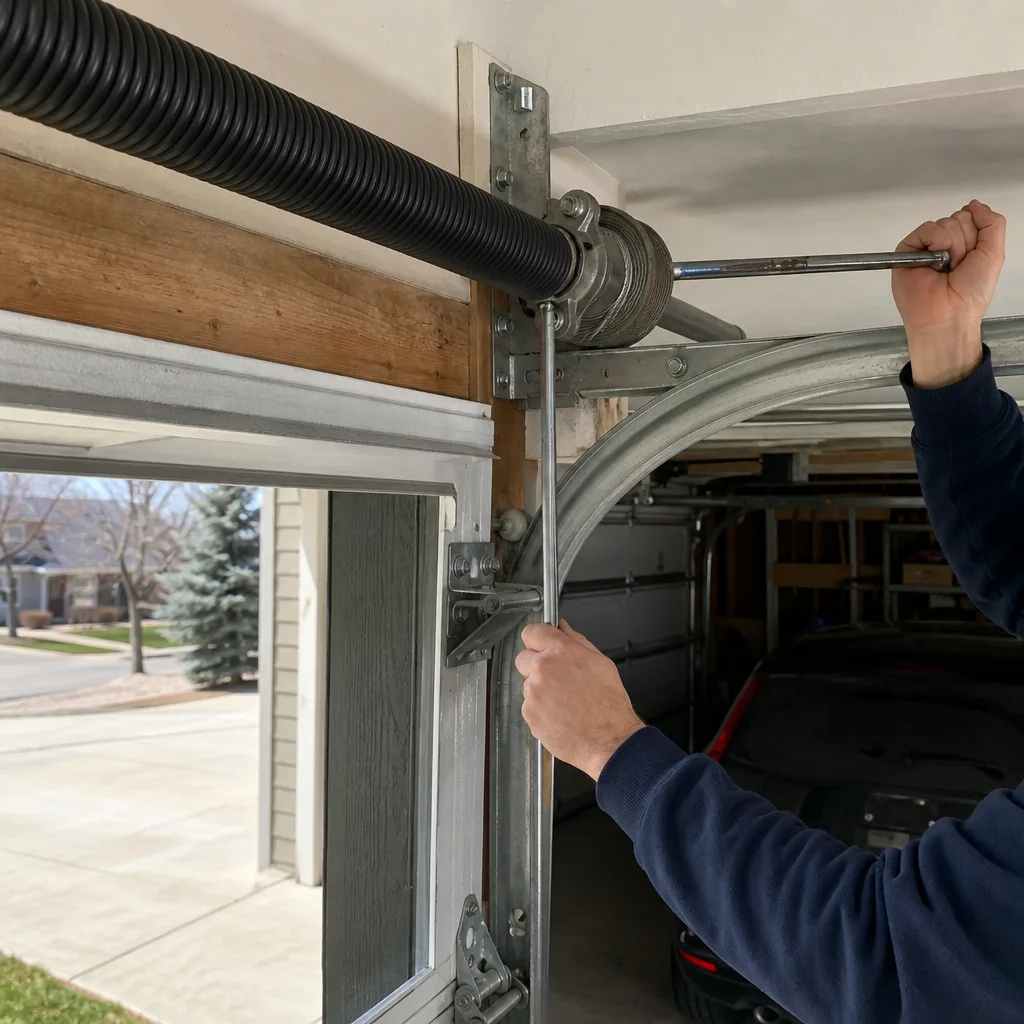
- Raynor garage door springs lasting 8,000 to 10,000 cycles and failing exactly when rated. Raynor specifies cycle ratings on their torsion springs, and the ones we replace in Westminster are almost always in that window. When the spring breaks, the opener can’t lift the door and homeowners often assume the motor failed. It didn’t. The spring did its job, hit its cycle count, and needs replacement. That’s a $180 to $340 fix, not a $500 opener replacement.
- Trolley carriage wear on Raynor chain-drive openers. The trolley carriage is the part that rides the rail and connects the chain to the door arm. On Raynor chain-drive units in Westminster, we see carriage teeth strip when the door itself gets heavy from worn rollers or misaligned tracks. The opener works harder, the carriage wears faster. We fix the door first so the new carriage isn’t fighting the same load.
- Raynor gear-and-sprocket assemblies wearing on older belt-drive openers. On Raynor belt-drive units from the 2015 to 2020 era, the white nylon gear inside the motor head develops flat spots, producing a grinding sound with no door movement. The motor is usually fine. We replace the gear assembly and lubricate it correctly, which costs well under a new opener.
- Raynor photo-eye alignment drifting after temperature swings. Colorado’s freeze-thaw cycle moves garage door tracks slightly, and when the tracks shift, the safety sensors at the bottom of the door lose alignment. The opener refuses to close. It’s usually a five-minute bracket adjustment, but we also check whether the track itself has moved enough to warrant realignment.
Our Raynor Garage Door Opener Repair & Installation Process
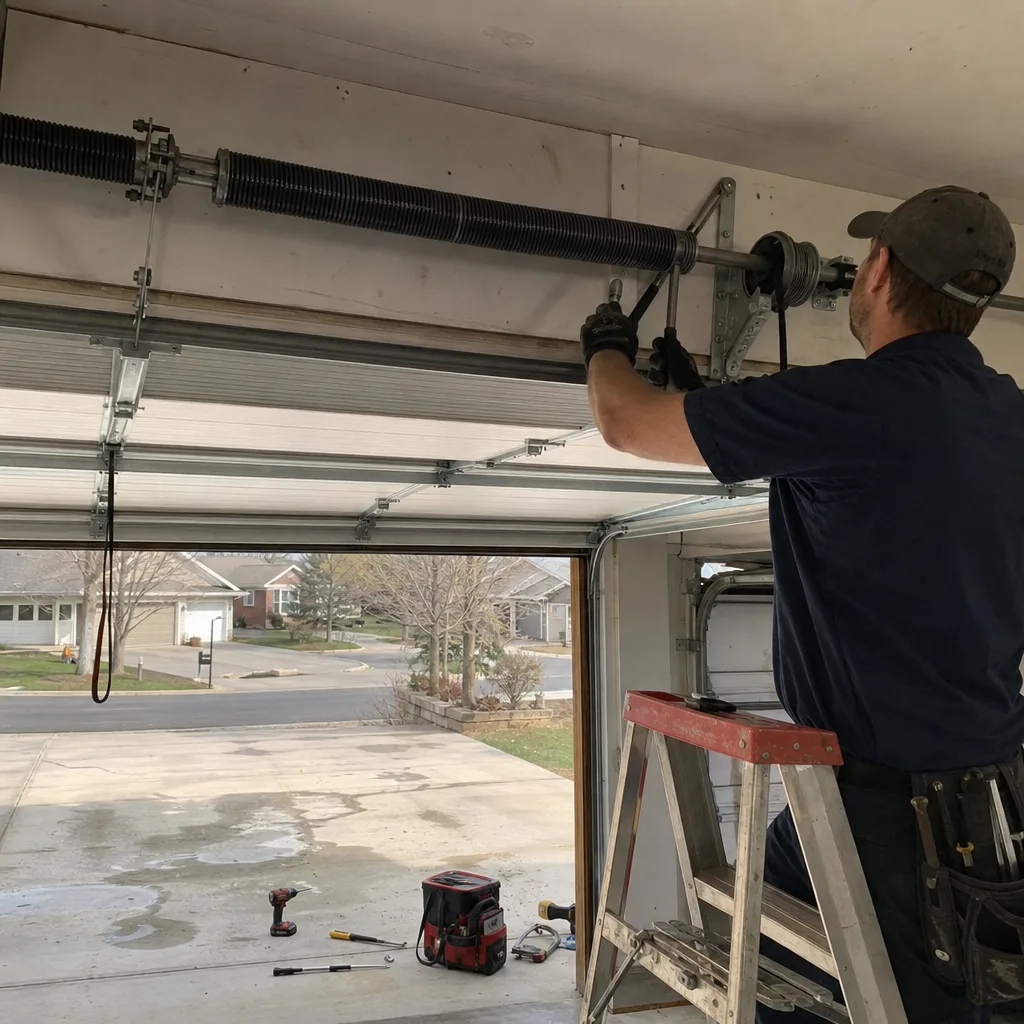
Every Raynor job runs the same way, whether it’s a repair, an install, or a diagnostic that turns into a recommendation to leave it alone.
- 1
You call, a real person answers, we schedule a technician and text you the name and ETA. No recording. No callback window.
- 2
The technician arrives and runs the opener through its full range, listening for gear noise, watching limit behavior, and checking the door’s balance and roller condition. An opener rarely fails in isolation; the door is half the diagnosis.
- 3
We show you the failed part before quoting it. Clause 4 of The Haven Standard is why the technician photographs the failed component before quoting a replacement. You see what we saw.
- 4
You get a flat, written price and written scope before any work starts. That’s Clause 1. The price doesn’t move after the repair begins. If we find something unexpected mid-job, we stop, call you, and put the change in writing.
- 5
We fix or install using OEM Raynor parts where they matter (logic boards, gears, sensors) and proven aftermarket parts where they’re equivalent (rollers, hinges, brackets). We’ll tell you which is which and why.
- 6
We test the opener through at least four full cycles, set the force and travel limits properly, and leave you with a documented photo record of what we found and what we did.
 Before
 After
AfterWhat Raynor Garage Door Opener Repair & Installation Costs in Westminster
Here’s what Raynor work actually costs in Westminster, based on the jobs we run every month:
| Job | Typical Westminster Price |
|---|---|
| Raynor opener repair (logic board, gear, limit switch, sensor) | $120-$320 |
| Raynor opener installation (motor, rail, wiring, programming) | $250-$550 |
| Raynor torsion spring replacement | $180-$340 |
| Raynor cable replacement | $130-$250 |
| Raynor track realignment | $120-$240 |
| Raynor roller replacement | $110-$220 |
What moves the price: whether the job is repair or replacement, belt versus chain drive, whether the existing opener is still manufactured, and whether the door itself needs work to stop wearing out the opener. Every quote is flat, written, and agreed before a bolt turns. Estimates are free.
Why Westminster Homeowners Call Servo Garage Doors Westminster for Raynor Work
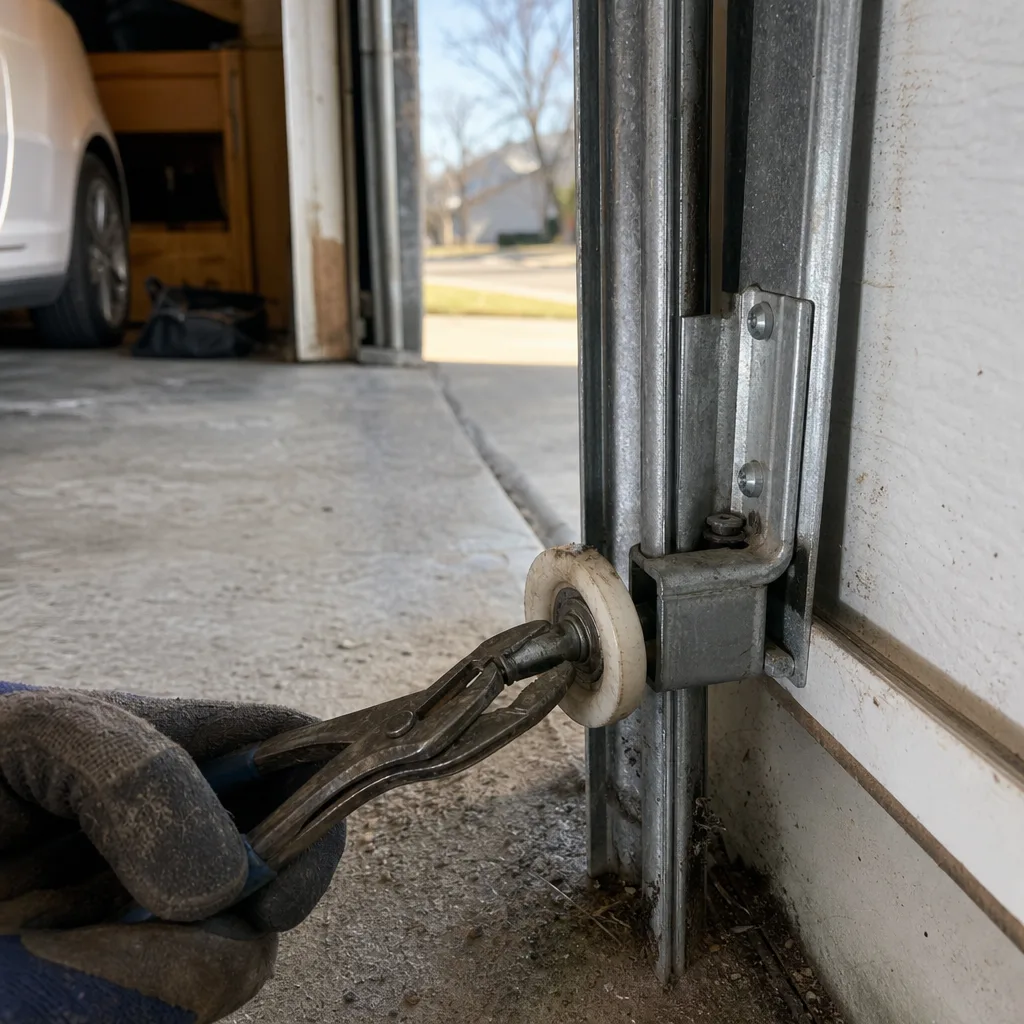
We’ve made garage doors right in Westminster since 2015. That’s 18,000-plus doors and openers, every single one priced in writing before work started and documented with photos when the technician left. That’s not a marketing line. It’s The Haven Standard, and it’s how we work.
Our technicians are background-checked, uniformed, and trained on Raynor’s quirks specifically. Marcus Deller, our owner, quotes labor and parts in writing before a single bolt turns, and he’s been doing it that way long enough that the customers who call us back expect the paper trail. If a Raynor opener is beyond saving, we’ll tell you, and we’ll show you the failed component before you spend a dollar on a replacement.
We also service LiftMaster, Chamberlain, and Genie, so if your garage has mixed brands, one visit covers it. And every repair carries the 365-Day Done Right Promise: if it’s not right, we make it right. No fine print, no handshake deal. It’s on the terms page.
FAQs
We use OEM Raynor parts for anything electronic or safety-critical, including logic boards, gears, sensors, and wall consoles. For mechanical wear items like rollers, hinges, and brackets, we use quality aftermarket parts that are spec-for-spec equivalent. We’ll tell you which is which before we quote, and the written scope lists the part source. Call (720) 807-1427 and we’ll walk you through it.
If the motor is still sound and the failure is a gear, board, or sensor, repair almost always makes sense, typically $120 to $320. If the opener has been rebuilt twice in five years or the motor is laboring under a heavy door, replacement at $250 to $550 is the honest call. We’ll show you the failed part and let the evidence make the decision.
Most opener repairs are scheduled within one to two business days. Emergency calls, including a garage door that won’t close, are answered 24/7 by a live person, not a recording. Call (720) 807-1427 and you’ll get a named technician and an on-the-way text.
No. Clause 1 of The Haven Standard means the flat, written price and written scope come before any work starts. If we find something unexpected mid-repair, we stop, call you, and put the change in writing before proceeding. You approve every dollar before we spend it.
As an independent Raynor service provider, we’re not authorized by Raynor and don’t process manufacturer warranties. For damage covered under a Raynor warranty, we recommend contacting Raynor directly. For everything else, including out-of-warranty repairs and any installation, our 365-Day Done Right Promise covers the work we perform.
Written by Marcus Deller, Owner & Lead Technician, Servo Garage Doors Westminster at Servo Garage Doors Westminster, serving Westminster and nearby areas.