
Last updated September 20, 2026
Full 25-point door and opener safety check with every visit - springs, cables, rollers, tracks, and your LiftMaster or Chamberlain opener included
You get a price before we start. It does not change when the truck arrives.

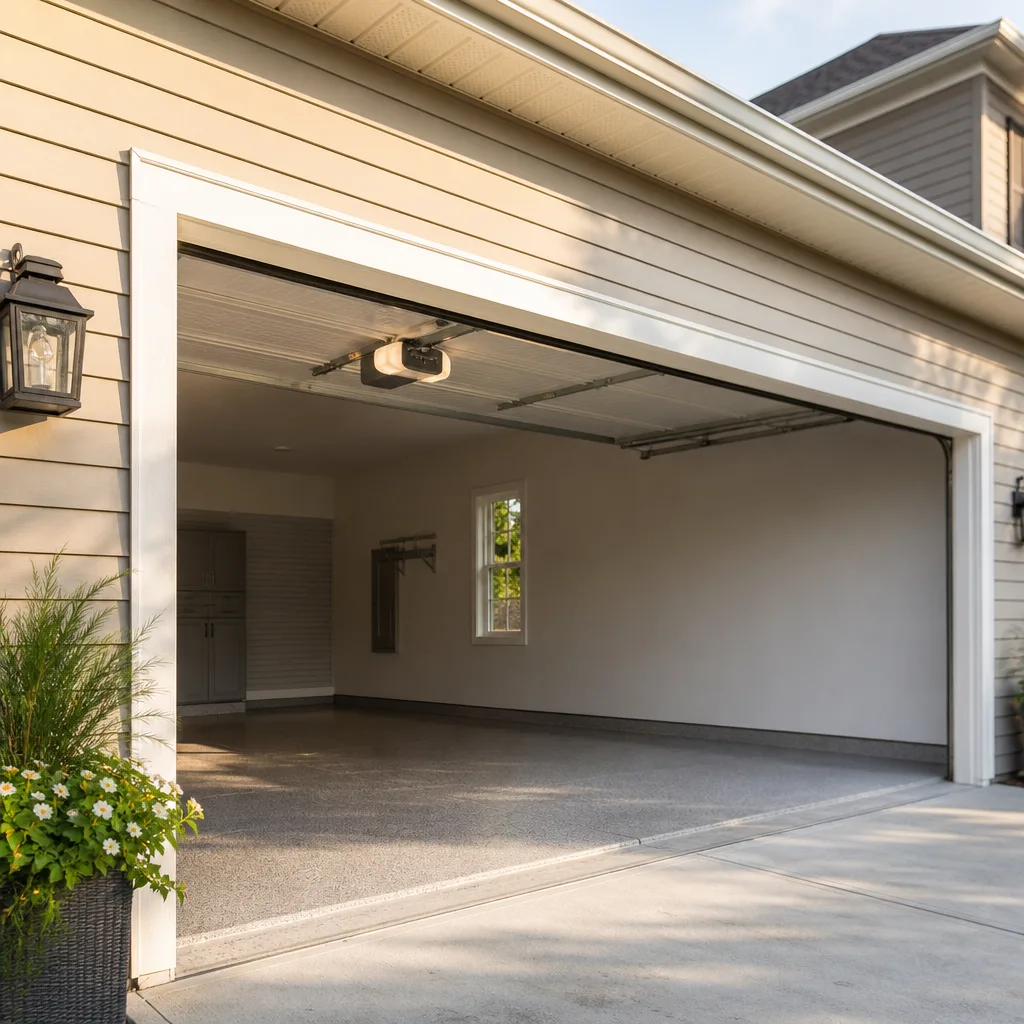
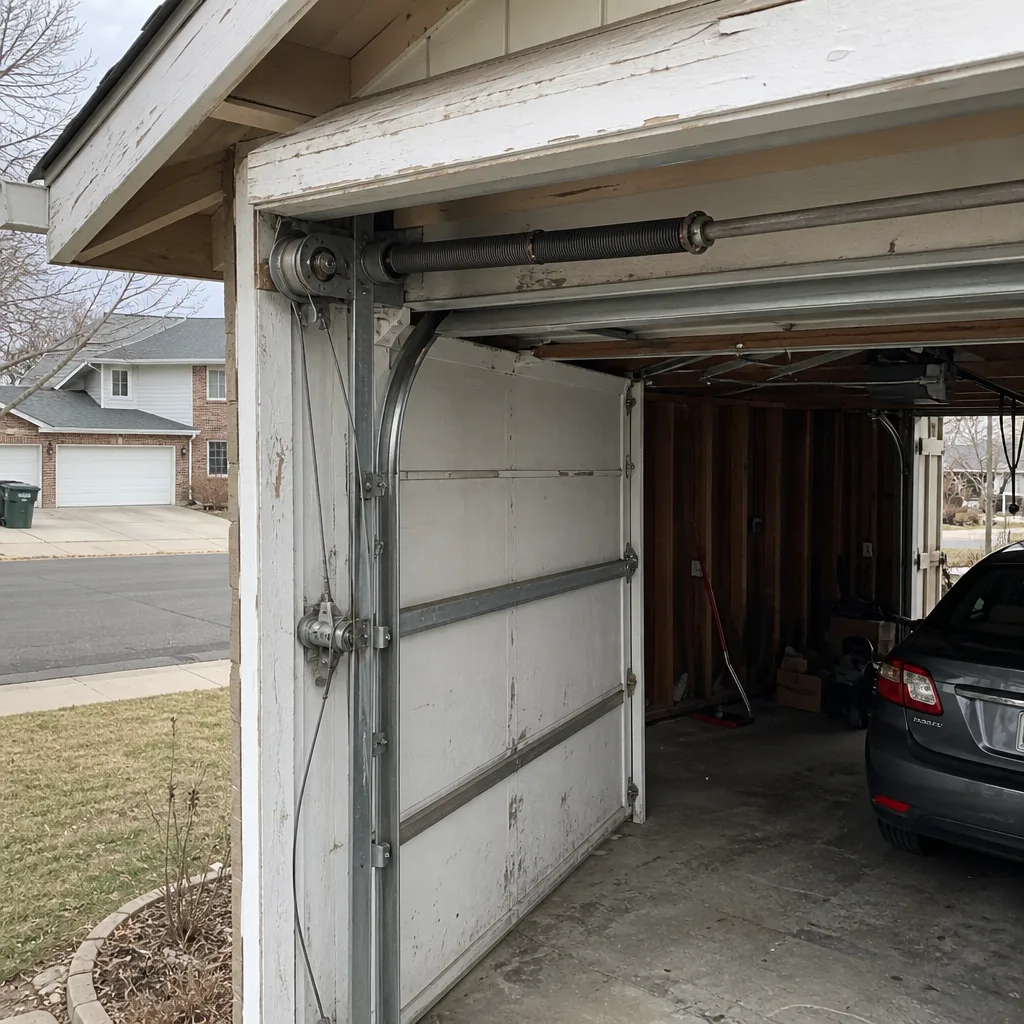 Before
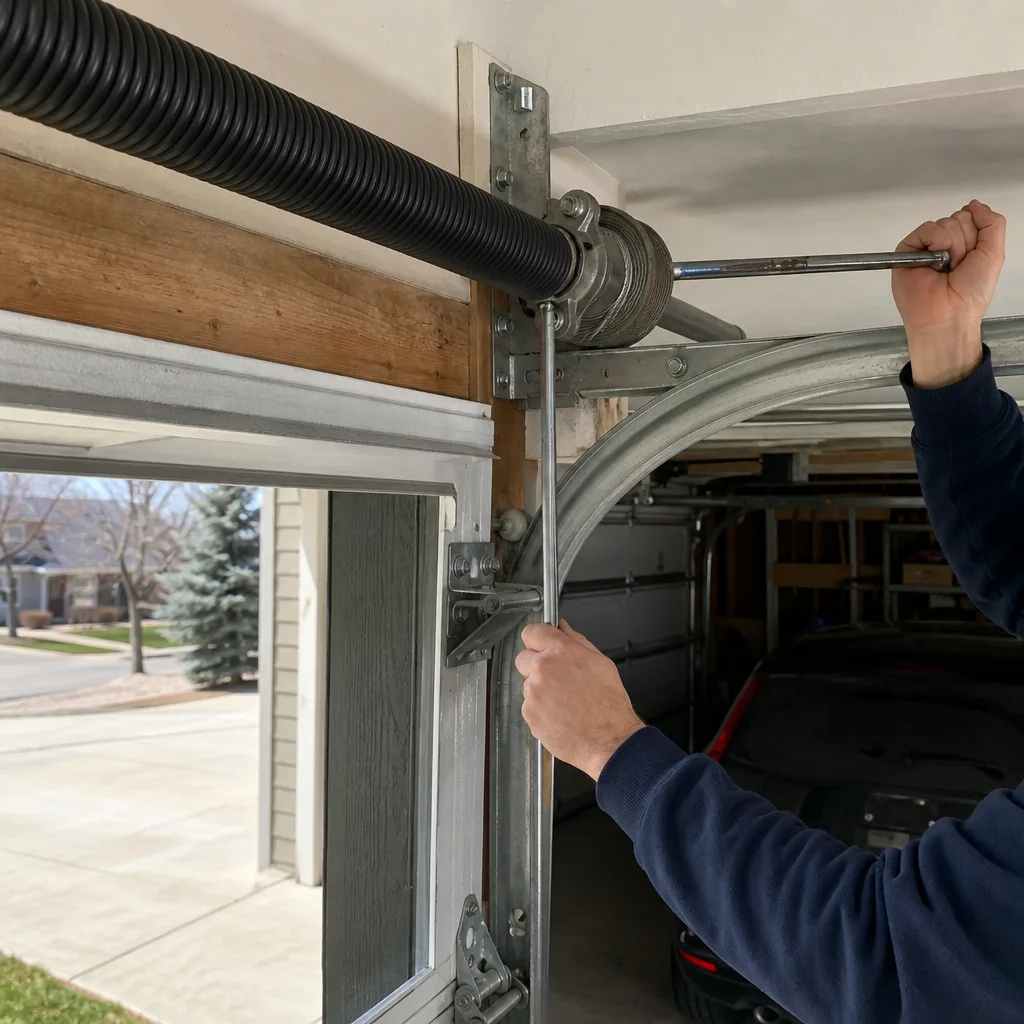 After
After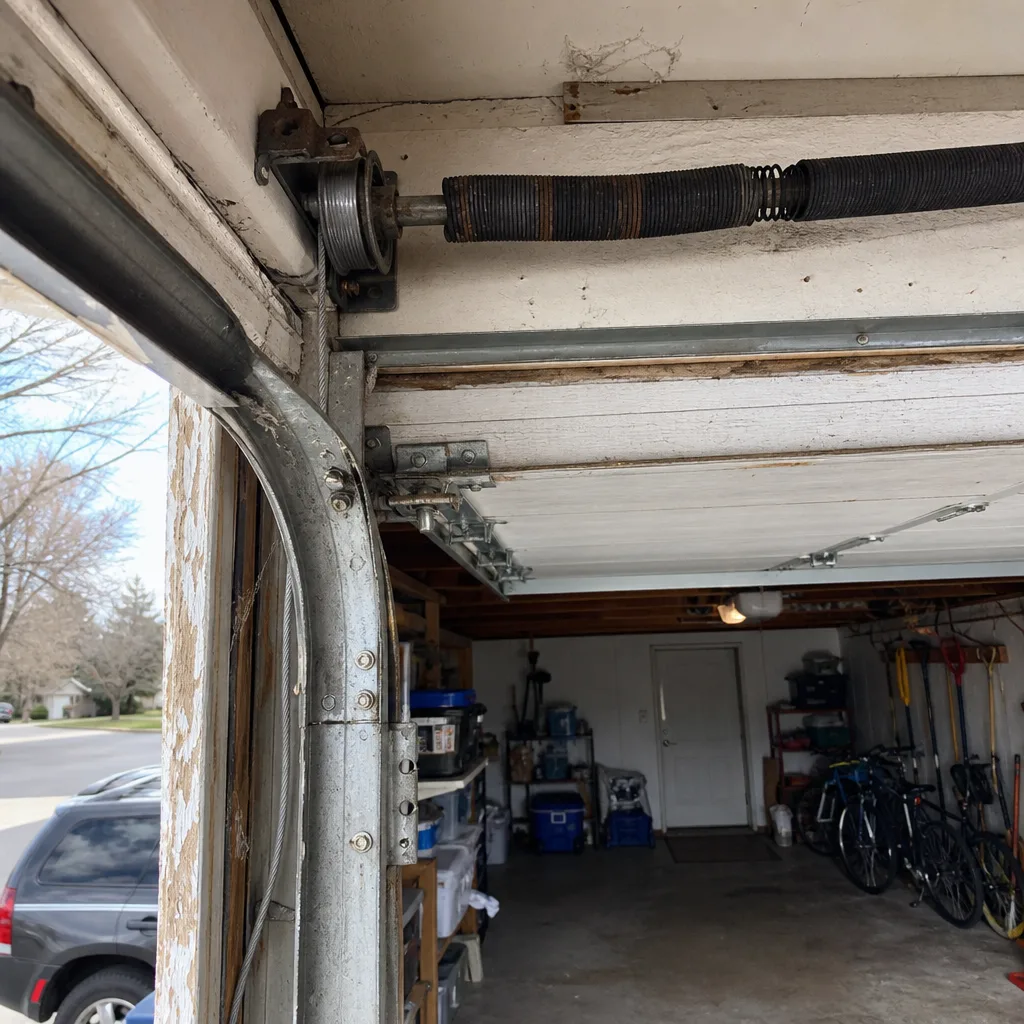 Before
 After
After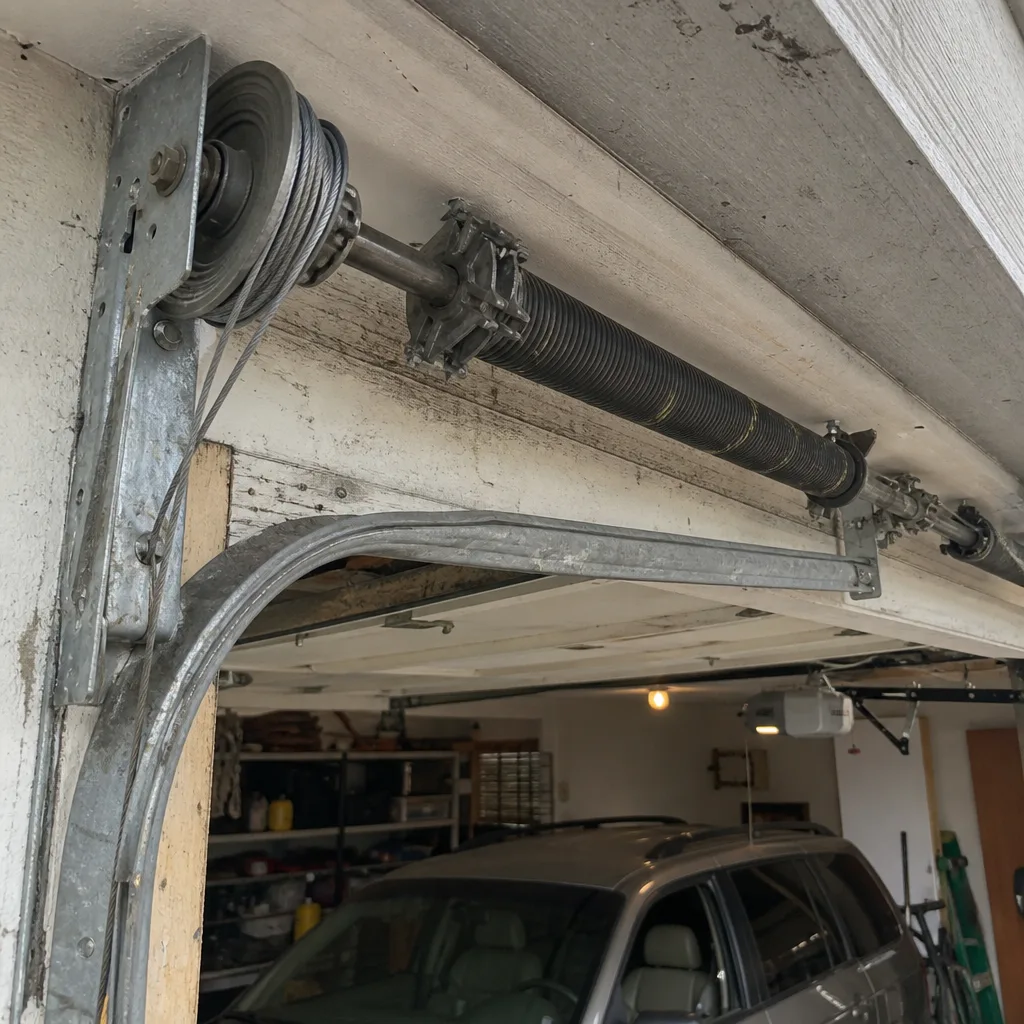 Before
 After
AfterGarage Door Repair Maintenance Checklist for Westminster Homeowners
A torsion spring under full tension stores enough energy to break a wrist. Three of the most common DIY maintenance tasks put hands within six inches of that spring, and no generic checklist flags the hazard. This guide pairs every inspection task with a measurable pass/fail standard, because a checklist that doesn’t tell you what “good” looks like just gives you the illusion of maintenance. If you live in Westminster, Colorado, you’re also working against a freeze-thaw cycle that warps tracks and a dry winter that kills lubrication faster than the national average. By the end, you’ll know exactly what to check, what a passing result looks like, what to photograph, and the three failures that mean the door should not be operated until a technician evaluates it.
Quick Answer
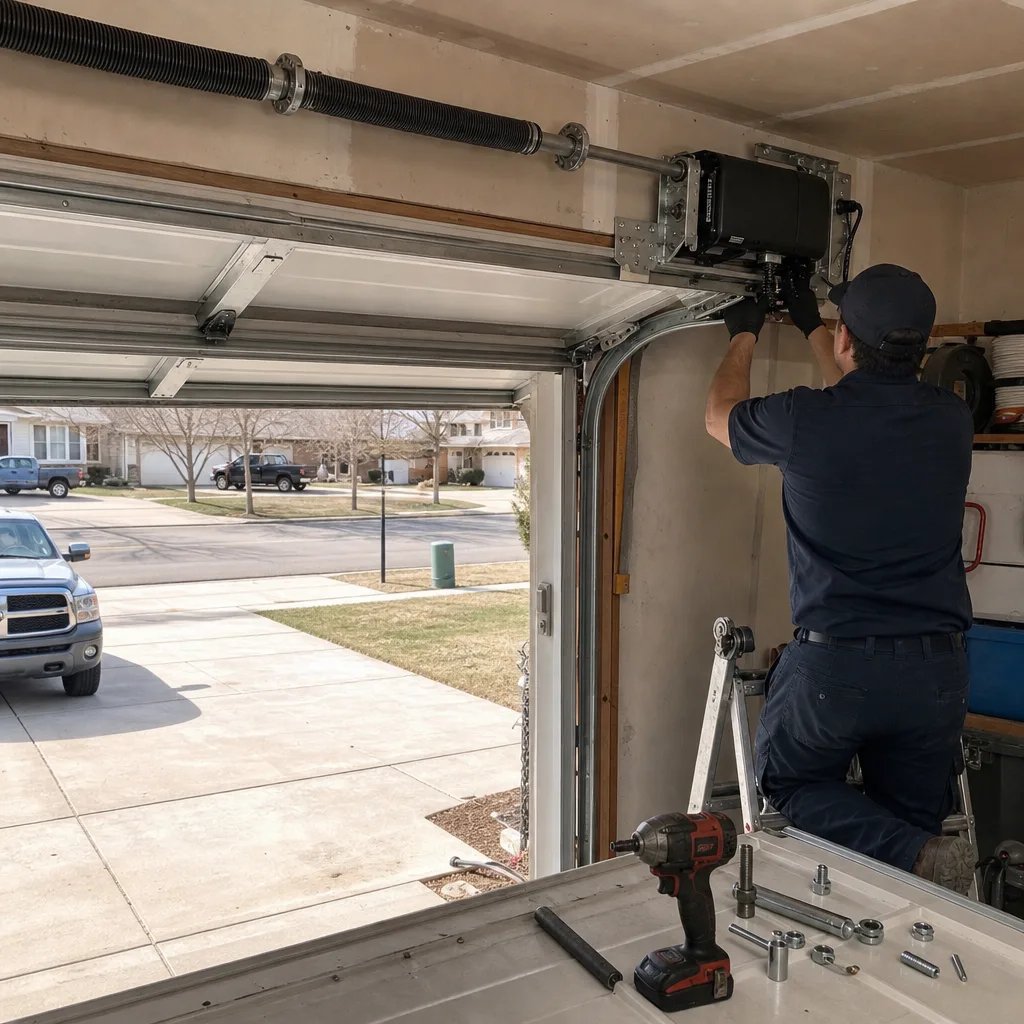
A complete garage door maintenance checklist for Westminster homeowners has eight inspection points: spring condition, cable integrity, roller wear, track alignment, opener force settings, balance, hardware tightness, and lubrication. Each item has a specific pass/fail measurement, not a vague “looks fine.” Run the full checklist twice a year, in late October before winter loads the system and in April after freeze-thaw season ends. Tasks involving the torsion spring, cables, or bottom brackets require a trained professional, so call Servo Garage Doors Westminster for Garage Door Repair when those components are involved; everything else is safe for homeowner hands with the right pass/fail standards.
Table of Contents
- Spring Inspection: The Task That Requires a Boundary
- Cable Check: What Fraying Actually Looks Like
- Roller Wear: The 1/8-Inch Wobble Test
- Track Alignment: Westminster’s Freeze-Thaw Problem
- Balance Test: The 30-Second Check That Catches Most Failures
- Lubrication: Which Parts, Which Product, Which Season
- Opener Force Settings: The Reversal Test
- Documenting the Inspection: The Photo Record Method
- Common Mistakes to Avoid
- When to Call a Professional
- Frequently Asked Questions
- The Bottom Line
 Before
 After
AfterSpring Inspection: The Task That Requires a Boundary
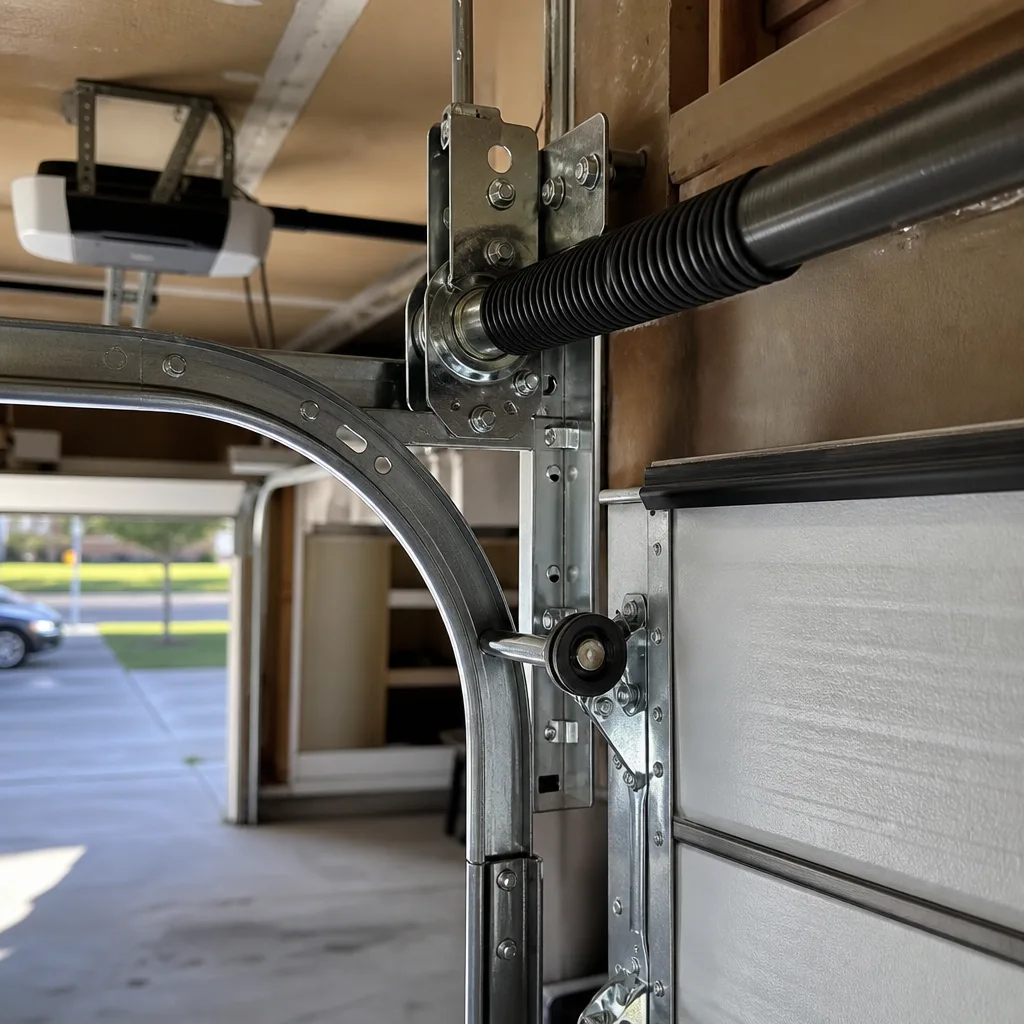
Most maintenance checklists say “inspect the springs.” None of them tell you what a passing spring looks like, or that inspecting a torsion spring safely means not touching it at all. Here’s the boundary: you look, you photograph, you measure with your eyes. You do not pull, pry, tap, or adjust anything within six inches of a torsion spring, which is the coiled spring mounted horizontally above the door opening. A torsion spring under full tension stores enough energy to break a wrist, fracture a forearm, or worse if it lets go while your hand is on it.
Pass standard: Both springs (if you have two) show identical coil spacing with no gaps. The coils sit tight against each other in a continuous spiral. No rust scale is flaking off, no coil is separated from its neighbor by more than the thickness of a dime, and the spring shows no visible crack line at any point along its length.
Fail standard: Any gap between coils, any visible crack, any rust that has progressed beyond surface discoloration to flaking or pitting, or one spring visibly different in coil spacing from the other. A broken torsion spring is obvious: you’ll see a clean break at a coil, usually with a two- to four-inch separation between the broken ends. If you see that, stop. Do not operate the door manually or with the opener. The spring does the lifting; the opener just moves a door that should already be balanced. Operating a door with a broken spring can strip the opener’s gear, warp the door sections, or send the door crashing down.
In Westminster, we see spring failures spike in February and March. Cold contracts the spring steel, and a spring already fatigued from years of cycles will often break on the coldest morning of the year, when the metal is at its most brittle. A spring that passes inspection in October can fail in February despite passing. That’s not a flaw in the checklist; it’s material science. Photograph the spring every fall so you have a baseline for comparison.
Cable Check: What Fraying Actually Looks Like
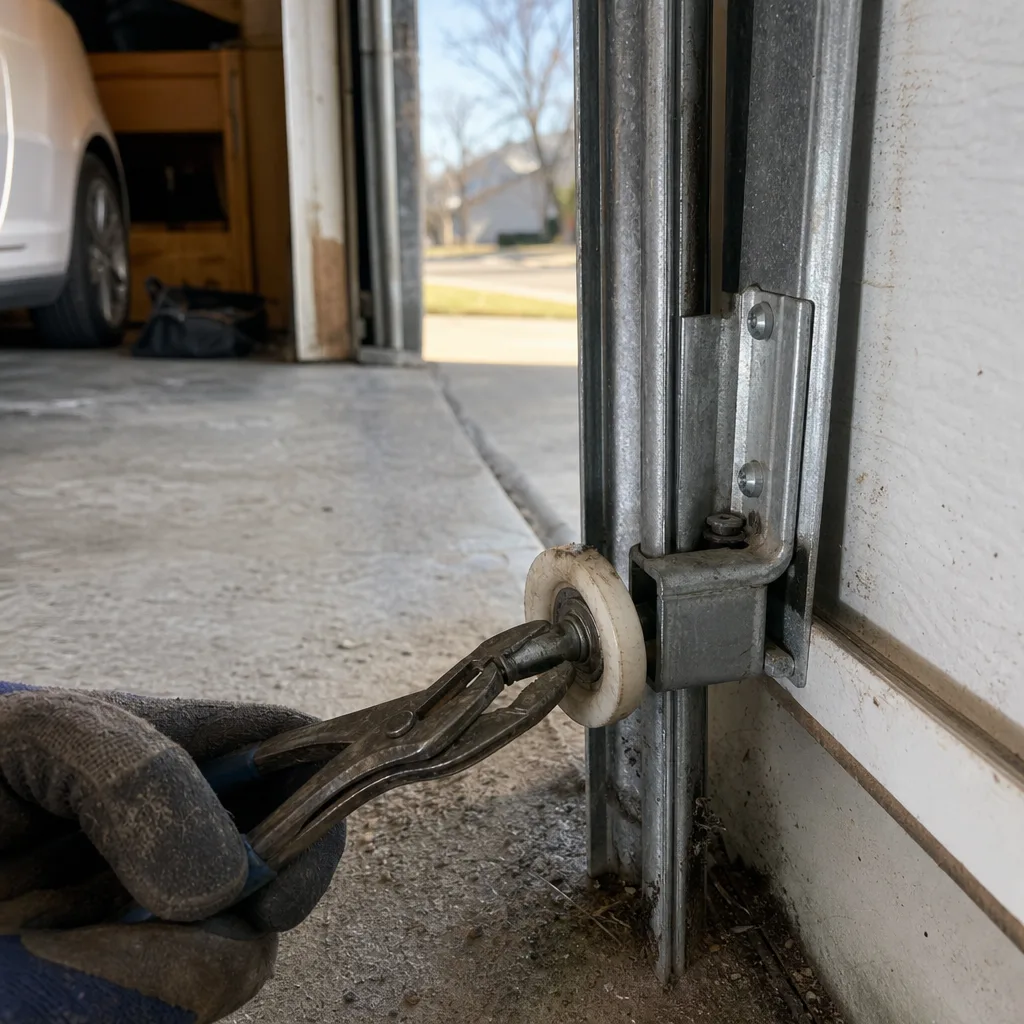
The cables on a garage door are the steel wires, typically 3/32-inch or 1/8-inch diameter, that run along both sides of the door and wrap around a drum at the top. They transfer the spring’s torque into lifting force. When a cable fails, the door drops unevenly, often violently, and the falling panel can injure whoever is underneath it. Cable inspection is visual only. Do not touch a cable under tension. Do not try to re-seat a cable that has slipped off the drum. The cable is connected to the same spring that stores the wrist-breaking energy.
Pass standard: The cable shows no broken wires. Run your eyes along the full visible length from the bottom bracket up to the drum. The cable should sit in the drum groove, not riding over the lip. No rust, no kinks, no flat spots.
Fail standard: Any single broken wire strand visible along the cable’s length. A frayed cable is not one that looks fuzzy at the end; it’s one where individual wires have snapped and are poking out anywhere along the run. A kink, a birdcage (where the outer strands separate and bulge away from the core), or rust staining that has eaten into the wire also fails. If the cable has jumped the drum and is wrapped around the shaft, that’s a fail-and-stop: do not operate the door, do not try to rewrap it by hand.
Westminster’s dry climate means less rust than coastal cities, but it doesn’t protect against the other failure we see here: cable wear where the wire passes through the bottom bracket. That’s a friction point, and on doors that have been in service since the 2000s, that’s where the first strand usually snaps. Check that spot specifically.
Roller Wear: The 1/8-Inch Wobble Test
Garage door rollers are the small wheels, typically two to three inches in diameter, attached to the sides of the door that ride inside the vertical and horizontal tracks. Most residential doors have between 10 and 12 rollers. Steel rollers with ball bearings last longer than plastic or nylon without bearings. Westminster homes with doors installed before 2010 often still have the original plastic rollers, and those are almost always due for replacement.
Pass standard: Roll the door up and down manually (pull the release handle first so the opener is disengaged). Watch each roller. It should turn as the door moves, not slide. Grab the roller stem where it meets its hinge and try to wiggle it laterally. Lateral play should be less than 1/8 inch. The roller should ride in the center of the track with no binding or scraping sound.
Fail standard: A roller that slides instead of spins, a roller with visible flat spots on the wheel, any roller with more than 1/8 inch of side-to-side wobble, or a roller that squeals or grinds while the door moves. A roller that has seized completely will scrape a flat spot onto itself and wear a groove into the track, which means you’re now replacing both the roller and the track section, sometimes the entire track.
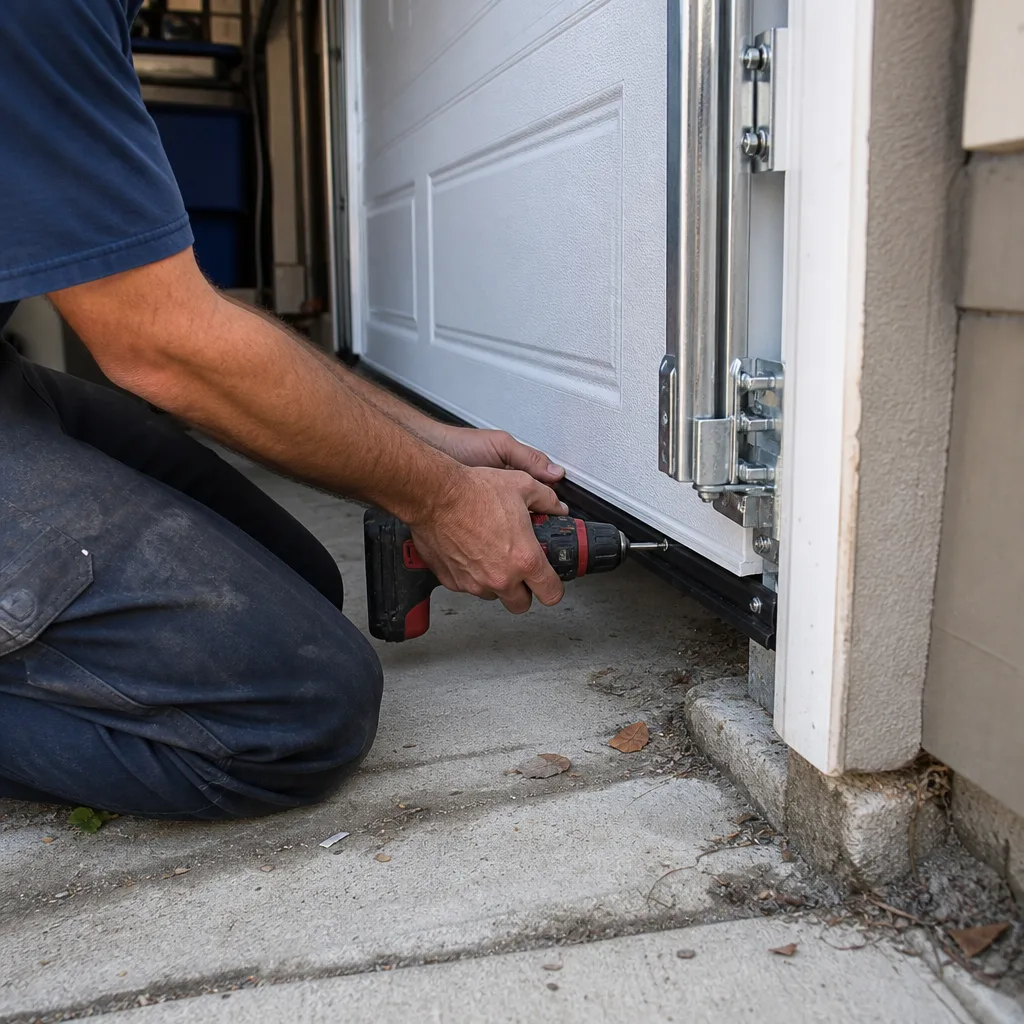
Replacing rollers is a homeowner-accessible task on most doors if you know the boundary: the bottom roller on each side is attached to the bottom bracket, which is under spring and cable tension. Leave those two alone, or better, call a tech to do the full set. The rest of the rollers can be replaced by a confident homeowner with the door in the down position, but you’ll need to bend the track slightly at the point where the roller enters, and that’s exactly where a generic checklist abandons you. For what it’s worth, Garage Door Repair in Westminster is a call we take all the time from homeowners who started a roller replacement and realized the track doesn’t just open up like a drawer.
Track Alignment: Westminster’s Freeze-Thaw Problem
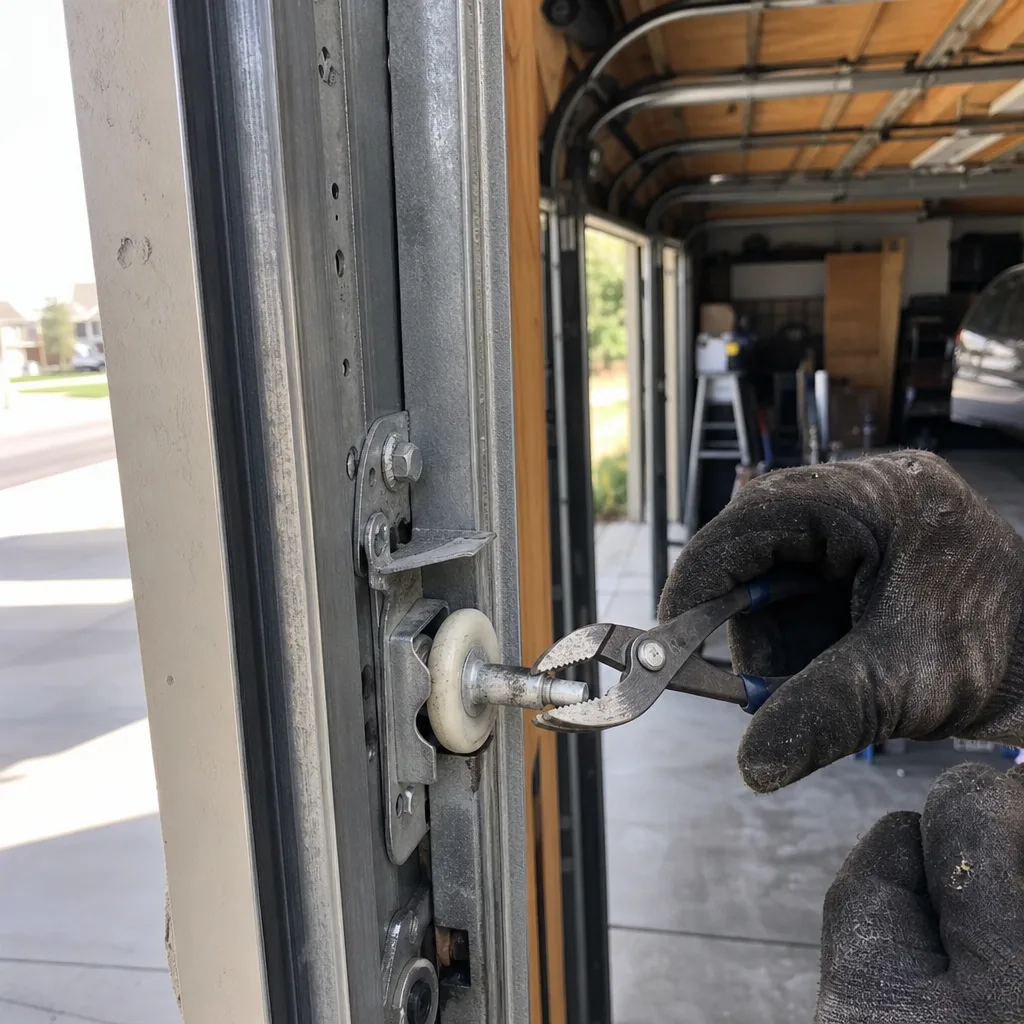
Westminster sits at 5,384 feet with a semi-arid climate, and the soil here is expansive clay. It swells when wet, shrinks when dry, and every freeze-thaw cycle between October and April works moisture through the soil in waves. What does that have to do with garage door tracks? Your garage slab and the stem wall it sits on move by fractions of an inch each season. Over five or ten years, that movement is enough to shift the vertical track out of parallel, and a door running through misaligned track wears rollers, hinges, and the opener’s trolley carriage faster than any other single failure we see in Westminster homes.
Pass standard: Measure the gap between the door edge and the track at three points on each side: near the floor, at the midpoint, and where the track starts its curve. The gap should be consistent within 1/4 inch across all three points, and left and right sides should match within the same tolerance. The track brackets should be tight against the wall with no visible gap where the lag screw has backed out.
Fail standard: Any vertical track that varies more than 1/4 inch from top to bottom, any bracket that has pulled away from the wall, any visible bow in the track itself, or a door that visibly shifts sideways as it runs through the curve at the top. If you hear a consistent scraping or thunk at the same point in the travel every time, that’s a track issue, not a roller issue, though the roller may have already been damaged by it.
October is the right month in Westminster to check track alignment. The soil is typically at its driest after summer, the door has spent a full season cycling in hot weather, and winter’s freeze-thaw hasn’t started moving the stem wall again. A fall check catches the misalignment before it gets worse under winter load, when the opener is already working harder against cold-stiffened grease and the door panels are contracting.
Balance Test: The 30-Second Check That Catches Most Failures
A correctly balanced garage door will stay put at the halfway point when released manually. The springs do the lifting; the opener just guides. If the door drops or climbs when you let go, the springs are not matched to the door’s weight, and the opener is doing work it was never rated for. This is the single highest-value test on a maintenance checklist because it catches spring fatigue before the spring breaks, and it catches improper installation from a previous repair. Many homes in Westminster built during the 2015-2025 construction wave came with builder-grade openers and springs, and we regularly find doors that were never balanced correctly from day one.
Pass standard: Pull the release handle (usually a red cord hanging from the opener rail) with the door closed. Manually lift the door to waist height and let go. It should stay within four inches of where you released it, neither rising nor falling more than that. Then lower it back down and re-engage the opener with the same handle.
Fail standard: The door drops more than four inches, meaning the springs are under-tensioned or fatigued. Or the door rises, meaning the springs are over-tensioned, which is actually more dangerous because an over-tensioned spring is storing more energy than it needs and is closer to its fatigue limit. Either result means spring adjustment or replacement, and both are professional work. No homeowner should adjust torsion spring tension. The winding bars, the angle of the set screws, the number of quarter-turns: this is not a maintenance task, it’s a repair, and it’s the one that injures people every year.
A door that fails the balance test but passes the spring visual check is telling you something: wear you can’t see. Springs fatigue from the inside out, and a spring can lose 10 to 15 percent of its lifting force before any visual deformation shows. That’s why the balance test exists as a complement to the visual spring check, not a replacement for it.
Lubrication: Which Parts, Which Product, Which Season
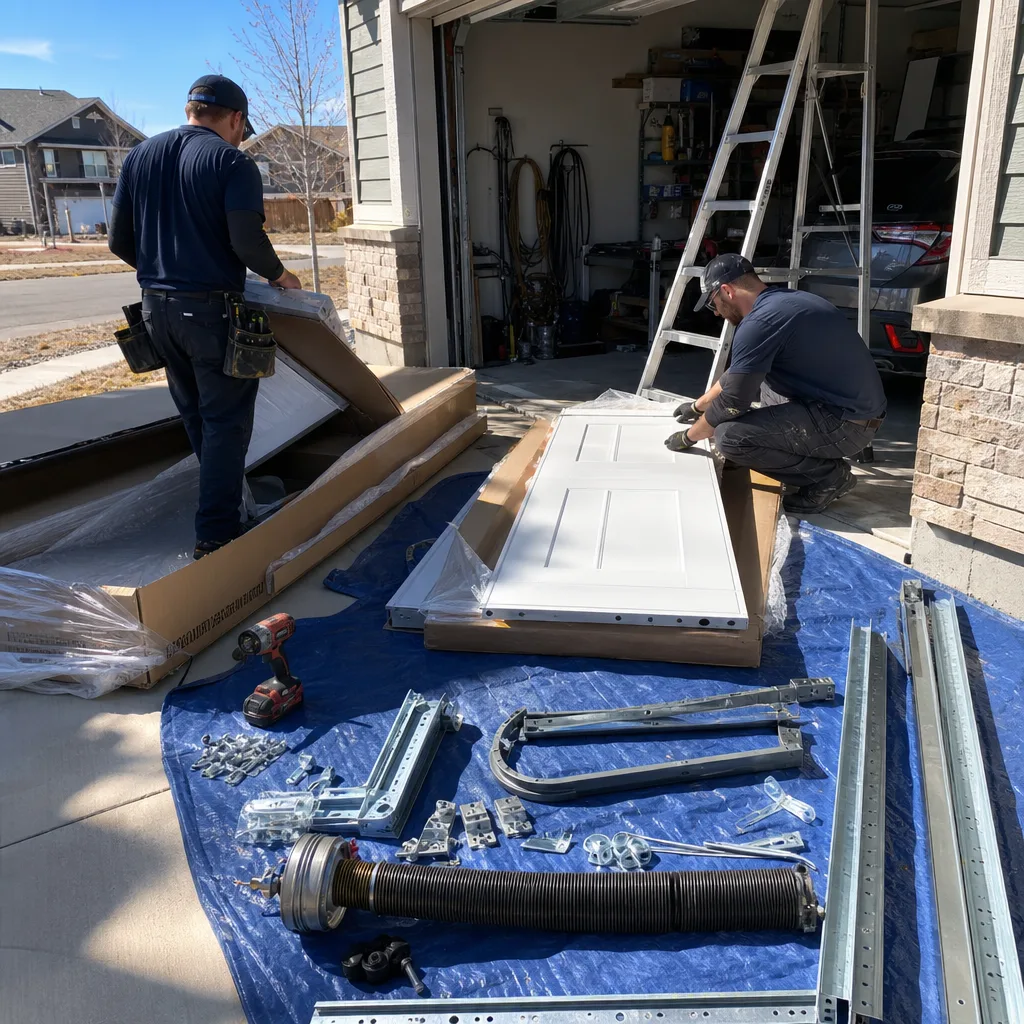
Lubricating a garage door in Westminster is not a once-a-year task. The dry air here, especially November through March when indoor humidity can drop below 20 percent, accelerates the breakdown of the existing lubricant and leaves metal surfaces with no film protection. But the bigger problem we see is homeowners lubricating with the wrong product. WD-40 is a solvent, not a lubricant for this application. It strips the old grease and leaves a thin film that dissipates in weeks. Grease, the thick axle grease in a tub, collects dust and grit and turns into grinding paste on rollers and hinges.
What to use: A white lithium grease spray or a garage-door-specific silicone spray. Both go on thin, penetrate, and leave a film that doesn’t attract dust. You want a lubricant, not a cleaner and not a heavy grease.
What to lubricate, in order:
- The roller bearings, not the roller wheel surface. Spray the shaft where it enters the wheel, one short blast per roller.
- The hinge pins, where the hinge plate pivots, not the entire hinge face.
- The torsion spring, the full length of the coil. This is the one exception to the no-touch rule; a short spray from 12 inches away is fine, but your hand stays out of the tension zone.
- The track bends at the top, where the track curves from vertical to horizontal.
- The opener rail, if you have a screw-drive or chain-drive opener. A screw-drive rail needs a specific screw-drive grease, not spray lithium. Read the opener manual before choosing.
What not to lubricate: The track inner surface where the rollers ride. A film there collects dust, and the rollers are designed to roll on clean metal. Lubricating the track surface is one of the most common mistakes in generic guidebooks, and it causes more harm than good on Westminster’s dusty summer days.
Time the lubrication for October and March. October gives you a fresh film before the cold, dry winter. March replaces it after the dryest period and before spring’s temperature swings. If you only do one, do October; the door works hardest in winter cold.
Opener Force Settings: The Reversal Test
Every residential garage door opener manufactured since 1993 is required to have an auto-reverse mechanism: if the door meets resistance while closing, it reverses direction. The force setting determines how much resistance it takes to trigger that reversal. If the force is set too high, likely because a previous owner or installer was compensating for a stiff door, the opener will push through an obstruction instead of reversing, and that’s how children and pets get seriously injured or killed by garage doors. This is not alarmist language. It’s the reason the Consumer Product Safety Commission maintains the standard.
Pass standard: Place a 2×4 flat on the floor directly under the door’s path. Close the door. It should contact the 2×4 and reverse within two seconds of contact. If your opener has a separate reversal sensor (the photo-eye sensors near the floor), test that too: wave your foot between the sensor beams while the door is closing. The door should reverse immediately. Test both every six months.
Fail standard: The door does not reverse on contact with the 2×4, or it struggles against the board for more than two seconds before reversing, or it reverses only after the door has flexed visibly under pressure. Also fail: the door reverses when nothing is in the way, which usually means the force setting is too low or the door has gotten stiffer from lack of lubrication, and the opener is now tripping early.
Adjusting force settings is a homeowner-accessible task on most LiftMaster, Chamberlain, and Genie openers, and the procedure is in the manual. The dial or digital setting is usually on the opener unit itself, not the wall panel. The relevant number is the one marked “down force” or “close force.” Chamberlain and LiftMaster units, which share a parent company and similar logic boards, typically use a 1-10 scale. Genie uses a different interface. If you can’t find the manual, call the manufacturer with the model number; they’ll walk you through it. If anything about the opener’s behavior feels incorrect after adjustment, that’s a Garage Door Opener Repair & Installation in Westminster call, and any of our techs can test the force setting in about five minutes.
Documenting the Inspection: The Photo Record Method
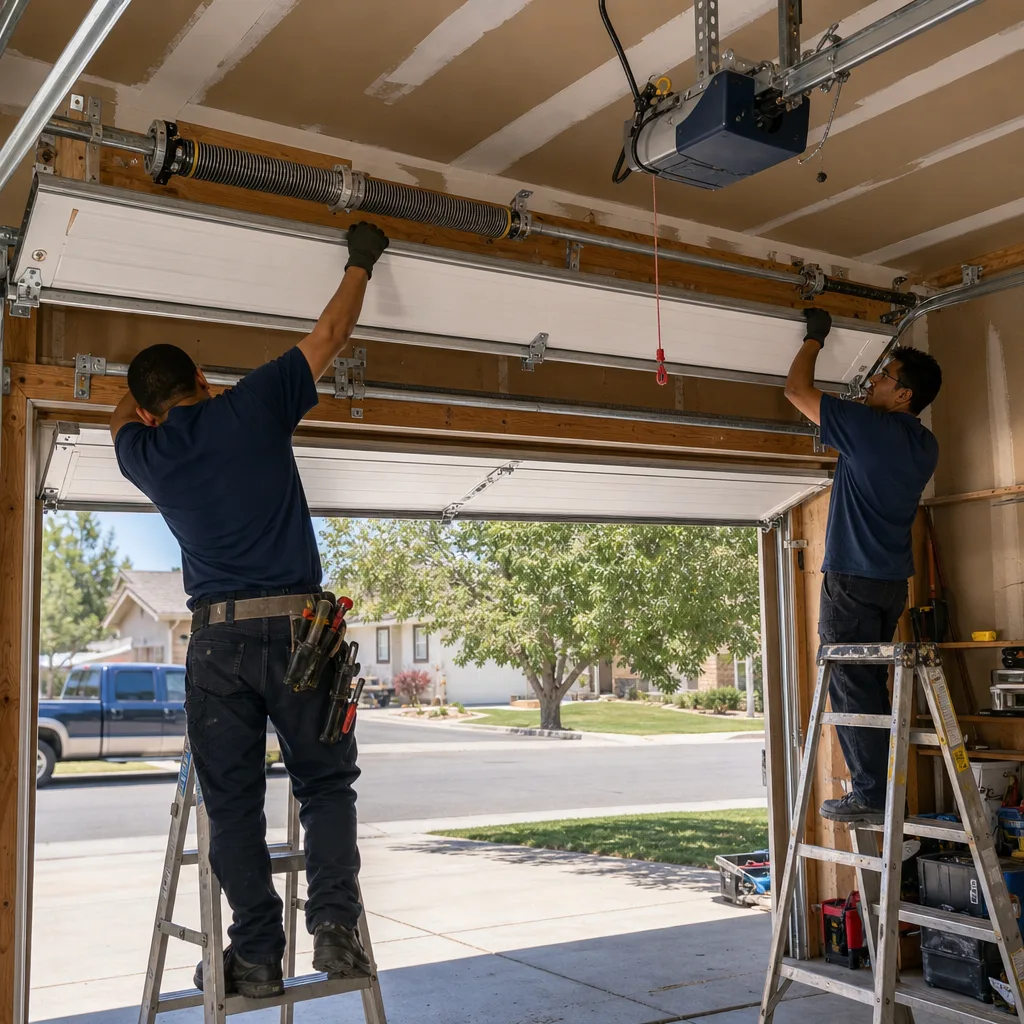
A maintenance checklist is only useful if it creates a record. The reason we photograph every component we inspect on a service call is the same reason you should photograph your own inspection: wear is a progression, and a photo taken in October tells a future technician what that spring looked like before something changed. In Westminster, where freeze-thaw and dry air push wear on specific components at specific times of year, the seasonal photo pair is the difference between catching a cable at one broken strand and discovering it at five. See our Garage Door Warning Signs: A Westminster Homeowner’s Reference Guide for what to watch for between inspections.
The method:
- Take photos on the same day you run the checklist, twice a year. Late October and late April make sense in Westminster.
- Photograph the same eight components every time: both springs, both cables at the bottom bracket, one representative roller on each side, the track at the midpoint, the opener unit with its model number visible, and the door from the outside at full closed position.
- Use the same camera position and angle each time. Stand in the same spot; the photo’s value is the comparison, and a shifting camera angle destroys that.
- Name the files with the date and the component: 2026-10-28-spring-left.jpg. This is the naming convention that will make sense to you in three years and to any technician you hire.
- Store the photos in a folder you can actually find. If you use cloud backup, fine. If you don’t, text them to yourself with a subject line you can search.
Why this matters in practice: a torsion spring that has lost 10 percent of its lift force looks nearly identical to a healthy spring. The balance test catches the force change, but the photo catches what the spring looked like after the last adjustment or replacement. When a tech replaces a spring, we photograph the old spring next to the new one before installation. Homeowners who keep their own records can hand that progression to us and get a faster diagnosis and a more precise answer about remaining spring life. This is the same principle that drives Servo Garage Doors Westminster home: the photograph is the evidence, and the evidence beats a sales pitch.
Three Failures That Mean Stop Operating the Door
Three inspection failures mean the door should not be operated, manually or with the opener, until a technician evaluates it. These are not “schedule it for next week” items. These are “the door is now a hazard” items.
- A broken or visibly cracked torsion spring. The door will not be balanced, the opener will struggle and can strip its own gear, and a door being held partially open by a failing spring can drop without warning. This is the most dangerous condition on a garage door, and the most common serious-injury source in residential garage systems.
- A frayed cable with any broken wire strands. Cables fail completely without much additional warning once the first strands break. A door that drops on one side will twist in the track, and the panel can jam or come out entirely. The falling panel weighs 80 to 150 pounds depending on the door. Do not operate it.
- A roller that has come out of the track, or a track that has separated from the wall bracket. In either case the door’s travel path is no longer controlled. Operating the door can bend the track, snap the remaining rollers, and allow the door to wedge itself in the opening, which is a structural emergency at worst and a major repair at best.
If any of these three fails, the correct sequence is: stop using the door, close it if it’s already down (don’t open it again), unplug the opener, and call a professional. For Garage Door Installation in Westminster and repair, we carry torsion springs and cables for LiftMaster, Chamberlain, Genie, and Raynor systems on our trucks, so the typical repair for any of these three is same-visit, not same-week.
Common Mistakes to Avoid
- Lubricating the track surface. The rollers are designed to ride on clean metal. A lubricant film on the track collects Westminster’s summer dust and creates a grinding paste that accelerates roller wear. Lubricate the bearing, not the rail.
- Using WD-40 on springs and hinges. WD-40 is a water displacement solvent. It’s not a lasting lubricant for garage door components, and it strips the previous lubricant film rather than replenishing it. A lithium or silicone spray is the correct product.
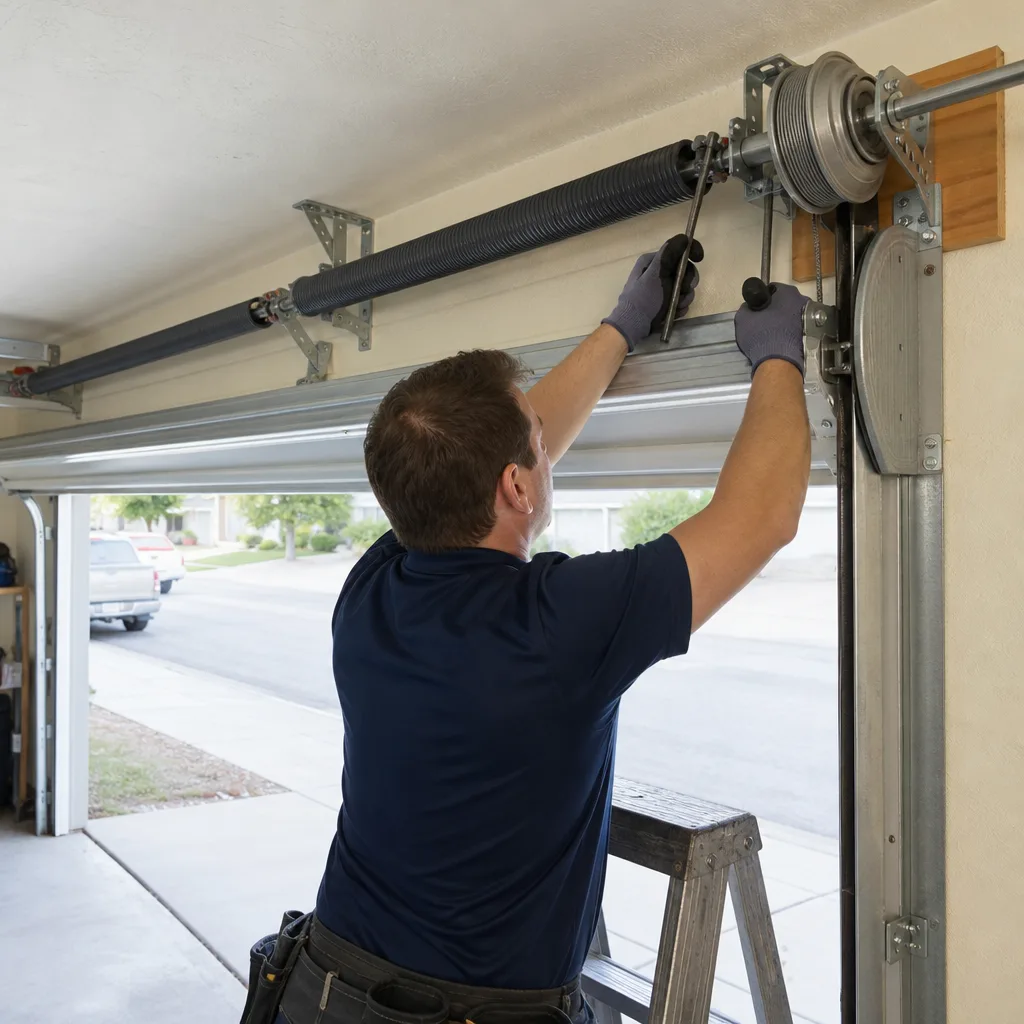
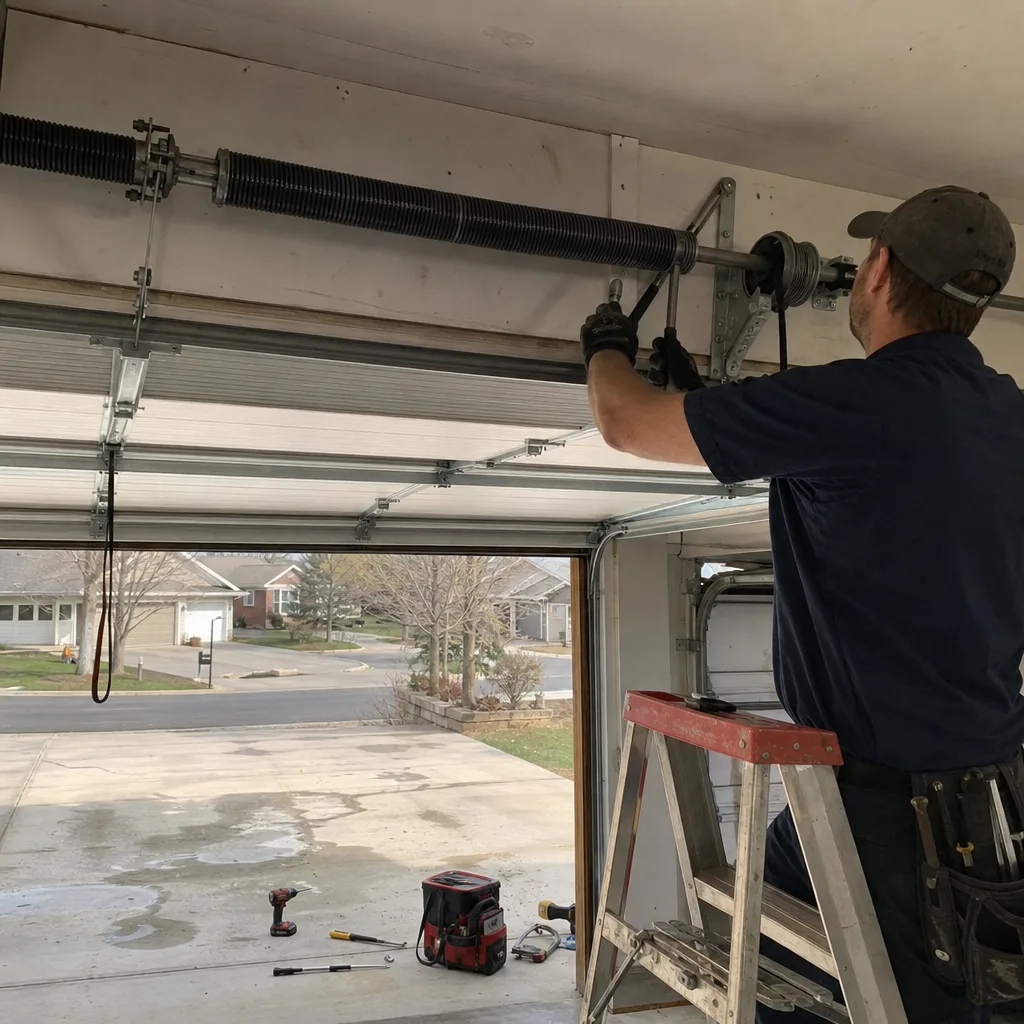
- Adjusting torsion spring tension without the proper tools. The winding bars are two half-inch steel rods, not screwdrivers, not Allen keys, not a pipe wrench handle. Using anything else is how the spring slips and the bar becomes a projectile. This is the most common serious injury in residential garage work, and it’s entirely avoidable: don’t do it yourself.
- Skipping the balance test because the door “sounds fine.” A door can be significantly out of balance and still operate quietly. The opener just absorbs the extra load, shortening its lifespan. The balance test takes 30 seconds and requires no tools.
- Testing the auto-reverse with a body part. Some people test the reversal by putting a hand or a foot under the closing door. Use a 2×4 or a roll of paper towels. Removing yourself from the test eliminates the risk if the reversal mechanism fails during the test, which is exactly what you’re trying to find out.
- Operating the door with the release handle pulled and forgetting to re-engage it. After the balance test, re-engage the opener properly by pulling the handle back and running the opener until it clicks into place. A door left disengaged will not open the next morning, and a door that gets manually lifted while disengaged can slam if the person lets go.
When to Call a Professional
Some tasks on a garage door are safe, repetitive, and accessible. Others are not. The dividing line is spring tension. Any component connected to the spring system, which means the spring itself, the cables, and the bottom brackets, is professional-only work on a standard torsion-spring door. The same applies to any task that requires bending a track, removing a hinge from the bottom section, or adjusting opener force when you’ve already tried the manual and the result is still inconsistent. Servo Garage Doors Westminster offers free estimates for Westminster homeowners, and the estimate is a written price before any work begins, not a ballpark over the phone. Read our How to Hire a Garage Door Contractor in Westminster: A Step-by-Step Guide to know what to ask any provider. Call (720) 807-1427. The typical diagnostic visit takes under an hour, and you’ll leave it with a documented photo record of what was found, whether you proceed with a repair or not.
Frequently Asked Questions
Twice a year, once in October and once in March. Westminster’s dry winters and dusty summers strip lubricant film faster than more humid climates, so a fall application protects the door through the coldest months and a spring application replaces what winter burned off. Use a white lithium or silicone spray on the roller bearings, hinge pins, torsion spring, and track bends, and skip the track surface entirely.
A diagnostic maintenance visit in Westminster typically runs between $90 and $160, depending on what needs adjustment, and the price is quoted as a flat written amount before any work starts. Servo Garage Doors Westminster includes a documented photo record with every visit, and the inspection itself often catches spring fatigue or cable wear before either becomes a repair that costs several times that amount. Call (720) 807-1427 for an exact quote.
You can replace most rollers yourself if you leave the bottom two rollers alone, because those are attached to the bottom brackets, which are under spring and cable tension. The remaining rollers are accessible with the door in the down position, but the track usually has to be gently bent at the roller entry point, and doing it wrong creates a misalignment that wears every other component. Many Westminster homeowners get halfway through and call us, which is fine; it’s a common repair call.
Track misalignment from freeze-thaw soil movement is the most common Westminster-specific failure, followed closely by torsion spring breaks in February and March, when cold temperatures make the spring steel brittle. The track issue develops over years, which is why the fall track measurement matters: it catches the movement before the door starts binding under winter load.
Run the balance test. Disengage the opener, lift the door to waist height, and let go. If it holds within four inches, the springs are matched to the door. If it drops or rises more than that, the springs are no longer providing the correct lifting force, and they need adjustment or replacement. A visual check also helps: any gap between coils, visible crack, or flaking rust means replacement is near.
Yes, once every two to three years is a reasonable interval for a home with a standard two-car garage door. The inspection catches things your eye misses, especially spring fatigue that hasn’t shown up visually yet and cable wear inside the bottom bracket. The photo record from a professional visit also becomes your baseline for comparing future wear, which is why we include it on every job. Call (720) 807-1427 to schedule in Westminster.
The Bottom Line
A garage door maintenance checklist is only as good as the pass/fail standards behind it. In Westminster, run the full inspection twice yearly: October before winter loads the system, and April after freeze-thaw has done its work. Photograph every component, compare season over season, and know the three red-line failures, broken spring, frayed cable, and roller out of track, that mean the door stays closed until a professional arrives. The tasks that are safe for homeowner hands are specific: visual spring check, one-eighth-inch roller wobble test, one-quarter-inch track measurement, balance test, lubrication, and force reversal test. For deeper guidance, explore more guides & resources on our blog. The tasks that are not safe all share one thing in common: they put you within reach of spring tension. Boundaries keep the work on the right side of safe, and the photo record makes every future decision easier.
Written by Marcus Deller, Owner at Servo Garage Doors Westminster, serving Westminster since 2015.